How to add animation to PowerPoint Animation.
- Open PowerPoint and create a new slide. Insert an object that you want to move, such as a shape or an image.
- Click on the object to select it. Then, go to the “Animations” tab in the PowerPoint ribbon.
- In the “Animations” tab, click on “Add Animation”. This will open a dropdown menu with various animation options.
- Choose the animation effect that you want to apply to the object. For example, you could choose “Custom Path” (PowerPoint version 2019-365) to make the object appear on the slide, or “Move” to move the object from one part of the slide to another.
- Once you’ve chosen an animation effect, you can customize the animation settings. For example, you can adjust the direction and speed of the animation, or add a delay before the animation starts.
- To preview the animation, click on the “Preview” button in the “Animations” tab. This will show you what the animation will look like when you play the slide.
- If you want to add additional animations to the same object, repeat steps 3-6. For example, you could add a second animation to make the object disappear from the slide after it has moved.
- Once you’re happy with the animations, save the PowerPoint slide and play it in presentation mode to see the animations in action.
Follow instruction below:
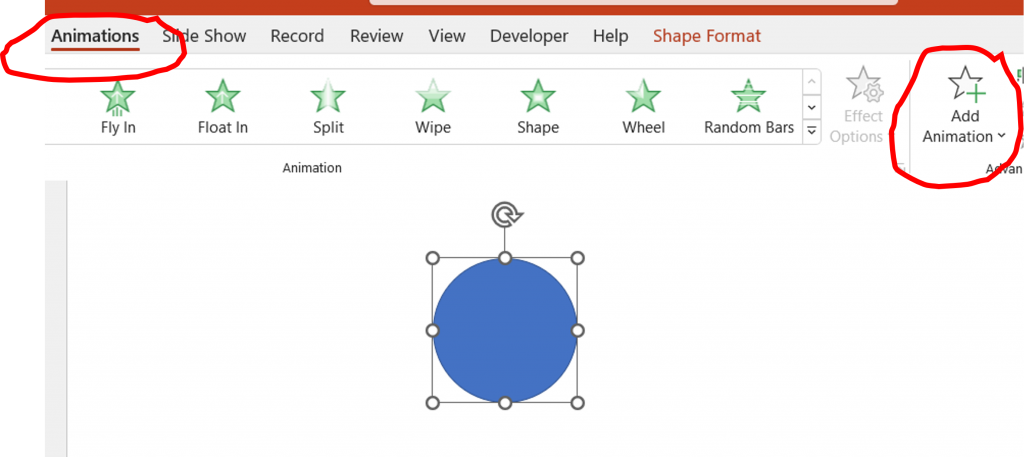
- Insert object – click Animation tab – Add Animation
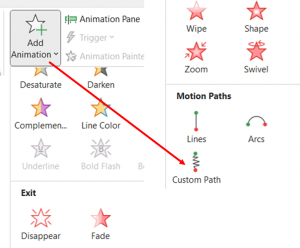
Choose Custom Path

Drag the line from object

Then copy paste 3 object.
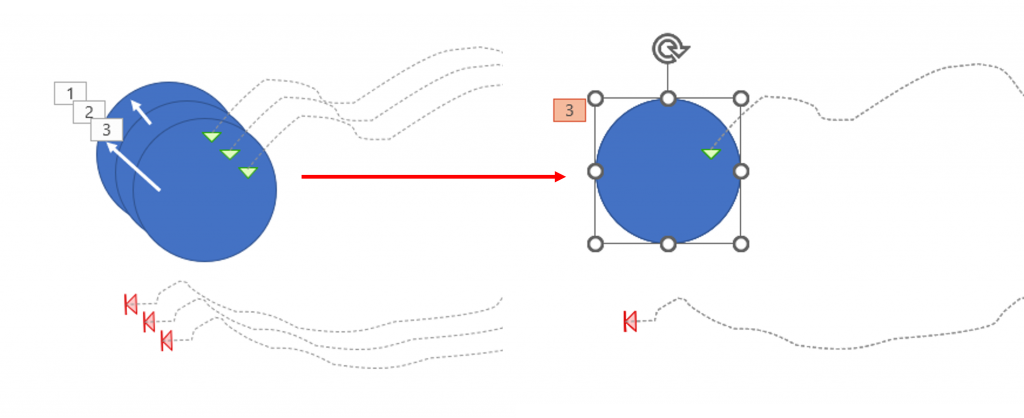
Overlaps each object.
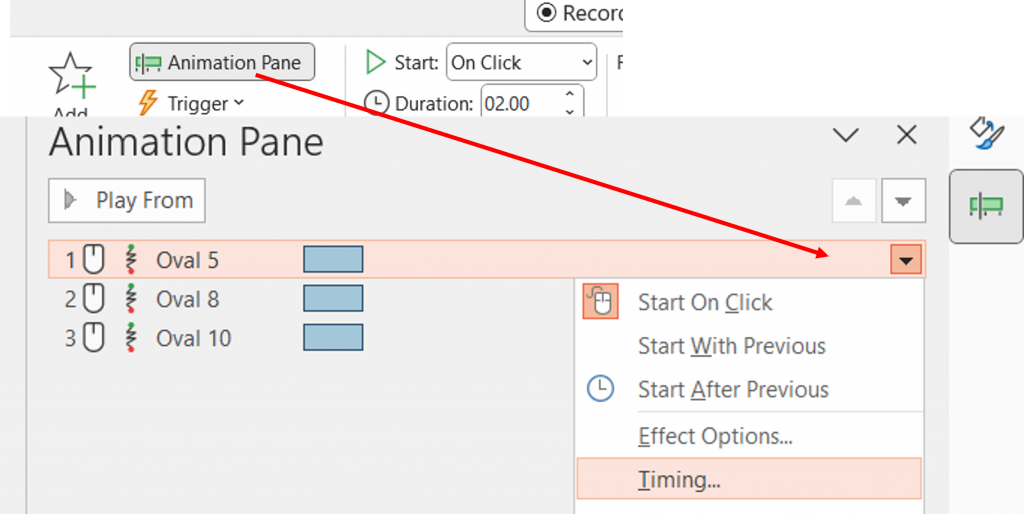
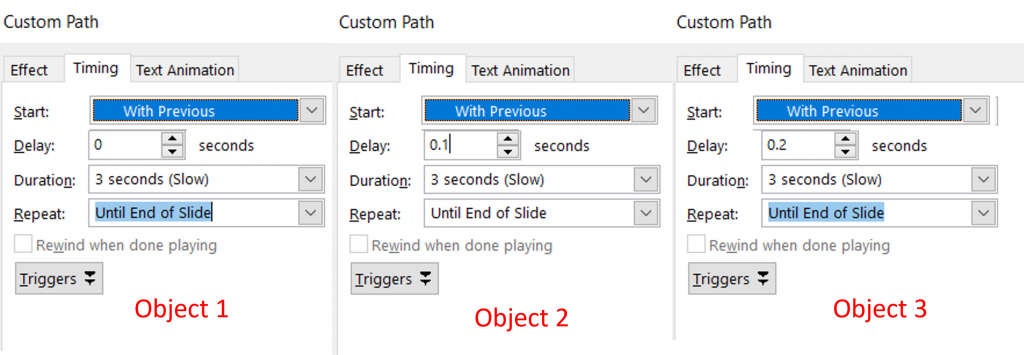
Click on Animation Pane – click small arrow – Timing
